 All buttons and LEDs installed, now time to hook up arduino and test a sketch
Monday, July 8, 2013
Changing resistors
The dome buttons are lit by a LED set up for 12V DC. Replaced resistors in each LED with a 100 ohm resistor so now can use 5 VDC (30mA per pin) - would be better if it were 20mA but had 100 ohm resistors and arduino can source up to 40 mA per output pin.

Whack-A-Mole original
An original (or near original) Whack-A-Mole at Enchanted Forest in Old Forge, NY.

 Beautiful!


Saturday, July 6, 2013
Test light and switch on Dome buttons
 First test the switch and LED on the dome buttons. Ran simple Blink and Switch sketches on Arduino
Whack A Mole Dome
Inspired by Sparkfun and their Whack A Dome I started a smaller version with only 9 buttons. Using their code as a start, here goes

 Start of the prototype. Counter display is from Adafruit and will be controlled by Arduino Leonardo

Cutting out board for buttons

Tuesday, June 4, 2013
CTD Mark 1
Finally Mark 1 version of the CTD is finished - after lots of careful planning to keep the PCBs on the datalogger shield, I needed to add a voltage divider so ended up with adding another board, so it looks like a dog's breakfast.

First deployment using an axe as a weight and a paddleboard to get onto the lake

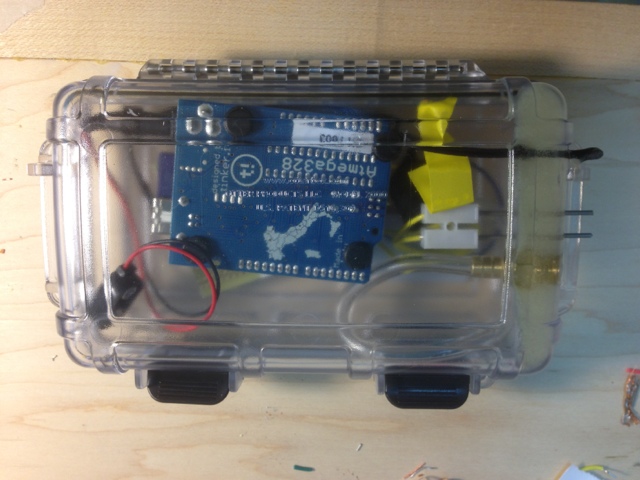 |
| Underside of CTD showing arduino and ports |
 |
| Top of CTD with extra board and also the pressure sensor is visible |


Subscribe to:
Posts (Atom)